Quick Install Guide
Welcome to the JEvents Quick Install Guide, this guide is based on JEvents 3.x. It will help guide you through the inital setup of JEvents within your Joomla! installation.
To start please select which version of Joomla! you are using:
{toggle}Joomla! 2.5.x [+]|Joomla! 2.5.x [-]|
1. Download the JEvents Component from the JEvents Product Page.
2. Login to your Joomla! Administrator interface, select Extensions, Extension Manager.
3. Make sure you are on the Install screen, next click 'Choose File' and browse our computer for the JEvents Component file which you downloaded in step 1, once found click it and click open. Now click Upload & Install.
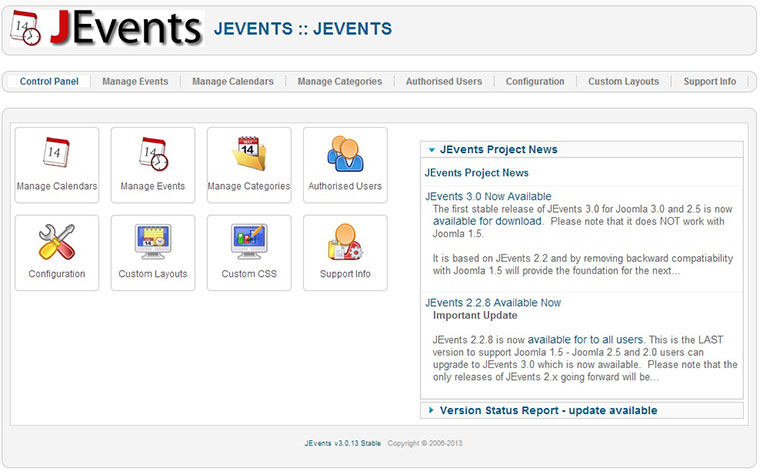
4. You should now be taken to a Database Setup, and a Continue button. Click Continue and you should be taken to the JEvents Control Panel screen, as follows:

5. Now click Configuration and edit acordingly. Once you have finished editing it click Save & Close.
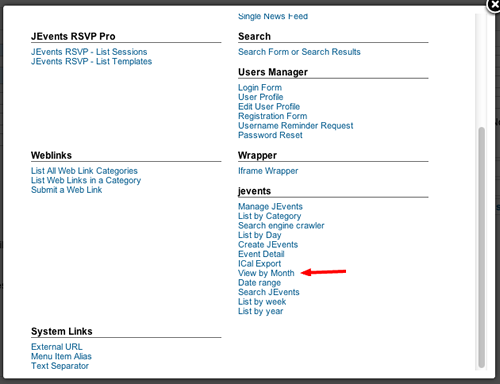
6. To view the calendar in the front end of Joomla! you need to create a Joomla! Menu Item, click Menus and select the menu which you want people to access JEvents from. Create a new menu item, select ' Jevents View by Month ' (This can be changed later if you want a different list view). 
Do NOT select any categories from the menu item's parameters unless you want to restrict the calendar to only them categories. Click Save.
You can now access your jevents calendar from the front end and backend.
{/toggle}
{toggle}Joomla! 3.x [+]|Joomla! 3.x [-]|
Joomla! 3.x has two ways of installing a component, the first and easiest solution is to enabled the Joomla! Web installer.
-
Joomla! Web Installer
- Login to your Joomla! Administration Area
- Click 'Extensions' and then 'Extension Manager'
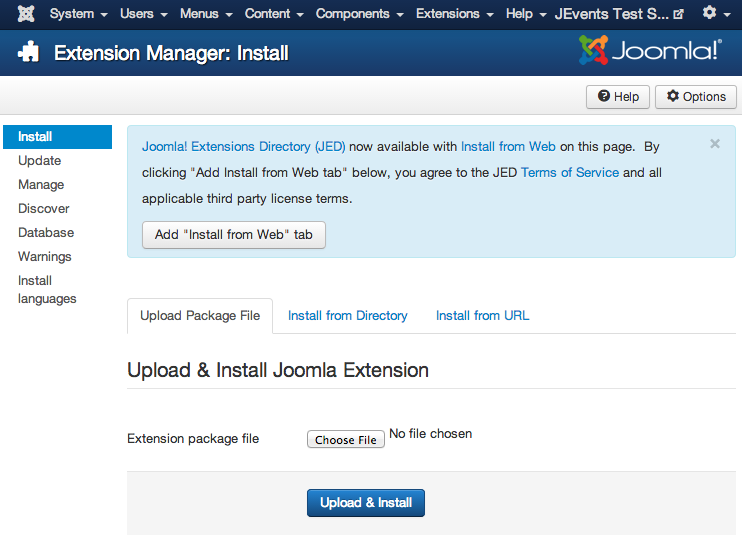
- You should now see a page like below, click 'Add "Install from Web" tab'.

- Next click the search box and type in 'JEvents', it will be the first item shown. Click this item and you will be taken to the detail page. Then click the green 'Install' button.
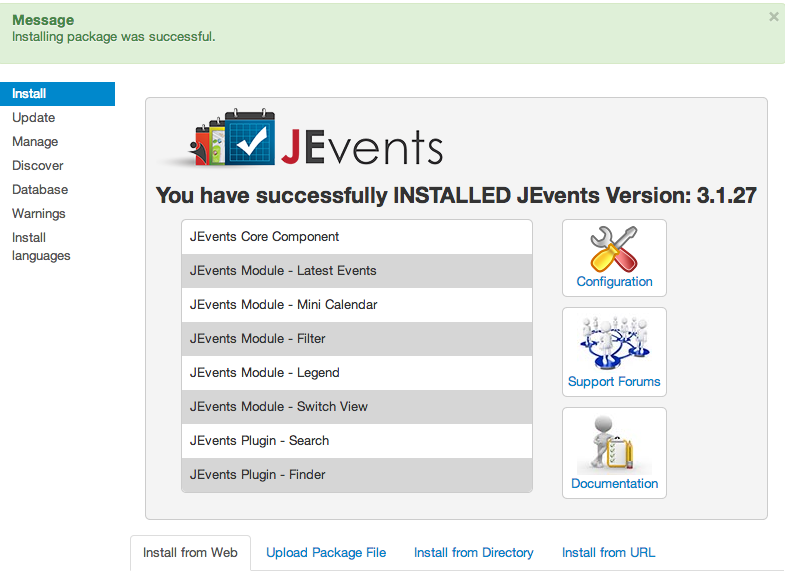
- You will now be presented with another page, this time click the blue 'Install' button. Once this has been completed you should be presented with a screen like:

- Now click the Configuration Icon
- Next, select the Permissions tab
- From the Permissions tab you will need to select who the JEvents Admin is? This user will recieve all the event submissions for categories which do not have an admin specified.
- Click save and you and start adding events.
-
Manual Install
- Download JEvents from JEvents Download
- Login to your Joomla! Administration area
- Click 'Extensions' and then 'Extension Manager'
- You should now see a page like below, click 'Choose File'

- Next browse your computer for the JEvents file you just download and select it.
- Now click the 'Upload & Install' button. Once this has been completed you should be presented with a screen like:

- Now click the Configuration Icon
- Next, select the Permissions tab
- From the Permissions tab you will need to select who the JEvents Admin is? This user will recieve all the event submissions for categories which do not have an admin specified.
- Click save and you and start adding events.
{/toggle}
Should you have any question or problems please do not hesitate to post on the Forums.
